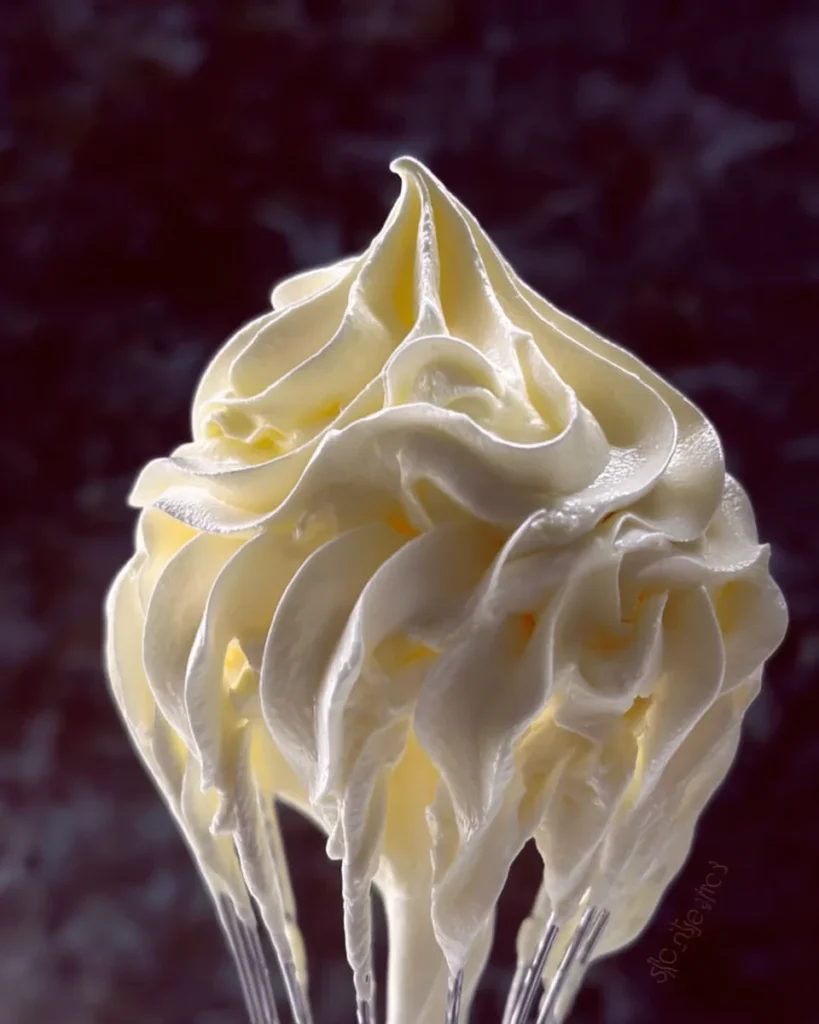
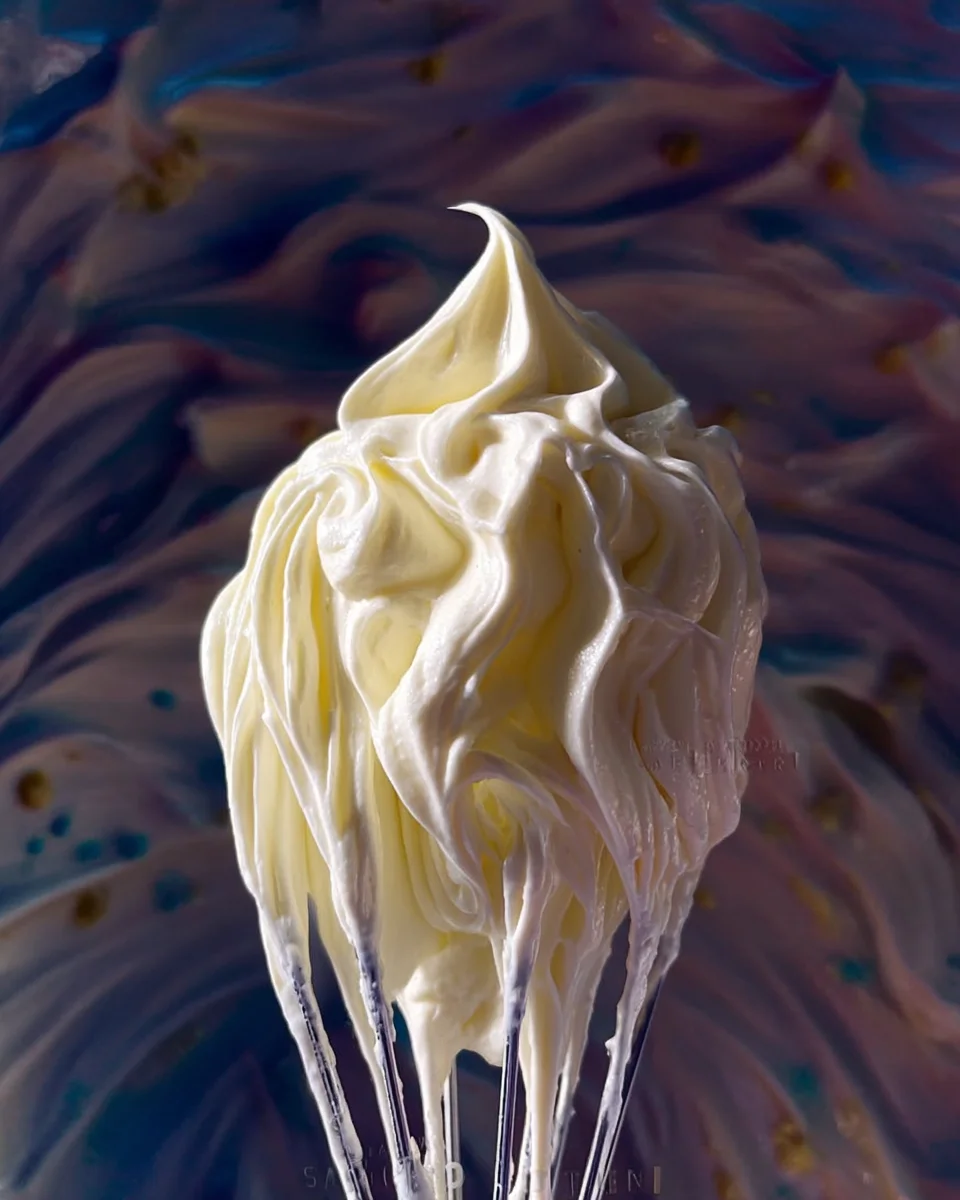
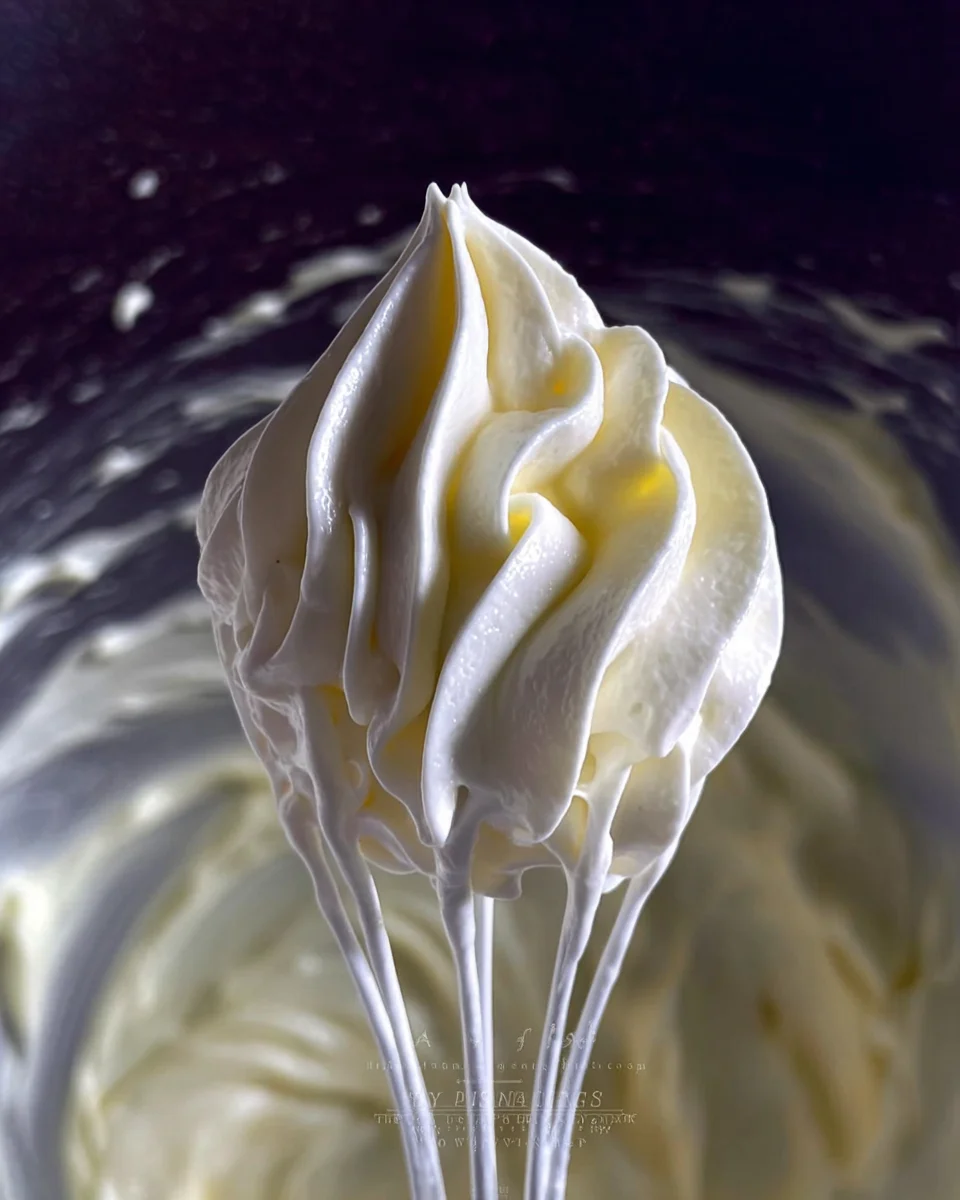
This Stabilized Whipped Cream Frosting is a game-changer for your baking needs. Its creamy texture and ability to hold shape make it ideal for cakes, cupcakes, and pastries. Perfect for any occasion, this frosting adds a delightful touch to your desserts. Plus, it’s made without gelatin, making it a unique choice that everyone will love.
Why You’ll Love This Recipe
- Holds Shape for Days: This frosting maintains its form longer than traditional whipped cream, ensuring your desserts look perfect.
- Easy to Make: With just a few simple ingredients, you can whip up this frosting in no time.
- Versatile Usage: Use it as a cake frosting, cupcake topping, or even as an addition to desserts like pies and pastries.
- Customizable Flavors: You can easily add different flavorings or colors to suit your taste or theme.
- No Gelatin Needed: This recipe provides a stable whipped cream without the need for gelatin, making it suitable for vegetarians.
Tools and Preparation
Before starting your delicious journey with stabilized whipped cream frosting, gather the necessary tools. Having the right equipment makes the process easier and more enjoyable.
Essential Tools and Equipment
- Stand mixer or hand mixer
- Mixing bowl
- Spatula
- Measuring cups and spoons
Importance of Each Tool
- Stand mixer or hand mixer: These tools make whipping the cream easy and ensure that you achieve stiff peaks quickly.
- Mixing bowl: A large bowl is essential for mixing all the ingredients thoroughly without spills.
- Spatula: A spatula helps scrape down the sides of the bowl so that all ingredients are well combined.
Ingredients
For the Frosting
- 1/2 cup (110 gms) Cream Cheese (softened)
- 1 and 1/3 cup (350 ml) Whipping Cream
- 90 gms Icing Sugar
- Flavouring and colouring of your choice
How to Make Stabilized Whipped Cream Frosting
Step 1: Whip the Cream Cheese
Start by whipping the softened cream cheese until it’s lump-free and smooth. Scrape down the sides of the bowl as needed to ensure everything is well mixed.
Step 2: Add the Whipping Cream
Once your cream cheese is ready, gradually add the measured whipping cream while continuously whipping. This step helps incorporate air into the mixture for a light texture.
Step 3: Incorporate Icing Sugar
After adding all of the whipping cream, sprinkle in the icing sugar. Keep whipping continuously until it’s fully blended into the mixture.
Step 4: Add Flavoring and Color
Now that your frosting base is ready, add your desired flavoring and coloring. Continue to whip until you reach stiff peaks.
Step 5: Enjoy Your Frosting!
Your delicious stabilized whipped cream frosting is now ready to use! Pipe it onto cakes or cupcakes, or use it as a topping for your favorite desserts.
How to Serve Stabilized Whipped Cream Frosting
Stabilized whipped cream frosting is versatile and can elevate many desserts. Here are some delightful ways to serve it that will impress your guests.
On Cakes
- Layering: Use this frosting between cake layers for added moisture and flavor.
- Decorating: Pipe beautiful designs on top of your cakes for a professional touch.
On Cupcakes
- Frosting: Generously swirl stabilized whipped cream on top of cupcakes for an inviting look.
- Topping: Add sprinkles or fruit on top for extra flair and taste.
As a Dessert Topping
- Ice Cream: Serve a dollop of this frosting on ice cream for a creamy addition.
- Fruit: Pair with fresh fruits like strawberries or peaches for a refreshing treat.
In Parfaits
- Layered Treats: Alternate layers of stabilized whipped cream with fruits, granola, or chocolate for a delicious parfait.
- Presentation: Use clear glasses to showcase the beautiful layers.
With Pastries
- Filling: Use it to fill pastries like éclairs or cream puffs, enhancing their richness.
- Dip: Serve as a dip alongside sweet pastries for an indulgent snack.
How to Perfect Stabilized Whipped Cream Frosting
To achieve the best stabilized whipped cream frosting, follow these helpful tips.
- Use cold ingredients: Start with cold whipping cream and softened cream cheese for better volume and stability.
- Whip gradually: Gradually add the whipping cream to the cream cheese while mixing. This helps incorporate air effectively.
- Monitor peaks: Stop whipping when you reach stiff peaks. Overwhipping can lead to grainy texture.
- Experiment with flavors: Try different extracts or liqueurs to customize the flavor of your frosting.
Best Side Dishes for Stabilized Whipped Cream Frosting
Stabilized whipped cream frosting pairs well with many side dishes that complement its sweetness and texture. Here are some great options:
- Fresh Berries: Strawberries, blueberries, and raspberries provide a tart contrast that’s delicious.
- Chocolate Cake: Rich chocolate cake paired with light frosting creates an irresistible combination.
- Pancakes: Serve alongside pancakes for brunch, adding sweetness without syrup overload.
- Brownies: A scoop of whipped cream on fudgy brownies enhances their decadence.
- Fruit Salad: Drizzle over a fruit salad for added richness and flavor balance.
- Cheesecake: Top slices of cheesecake with stabilized whipped cream for an elegant finish.
Common Mistakes to Avoid
Making Stabilized Whipped Cream Frosting can be simple, but mistakes can happen. Here are some common pitfalls to avoid for the best results.
- Ignoring ingredient temperature: Ensure all ingredients are at room temperature. Cold cream cheese can lead to lumps that won’t mix well.
- Over-whipping the cream: Stop whipping as soon as stiff peaks form. Over-whipping can make the texture grainy and less creamy.
- Not adding sugar gradually: Adding icing sugar too quickly can cause clumps. Gradually add sugar while whipping for a smooth consistency.
- Using low-fat cream: For best results, always use heavy whipping cream. Low-fat versions won’t achieve the desired stability and texture.
- Skipping flavoring and coloring: Don’t forget to enhance your frosting! Adding extracts or colors not only makes it appealing but also delicious.
Storage & Reheating Instructions
Refrigerator Storage
- Store stabilized whipped cream frosting in an airtight container.
- It lasts up to 3-5 days in the refrigerator.
- Make sure to keep it away from strong odors in the fridge.
Freezing Stabilized Whipped Cream Frosting
- You can freeze stabilized whipped cream frosting for up to 1 month.
- Use a freezer-safe container, leaving some space for expansion.
- Thaw in the refrigerator overnight before using.
Reheating Stabilized Whipped Cream Frosting
- Oven: This method isn’t recommended as heat can ruin the texture.
- Microwave: Only use short bursts (5-10 seconds) on low power if necessary; avoid heating too much.
- Stovetop: Again, this is not advisable as it could melt the frosting instead of softening it.
Frequently Asked Questions
If you have questions about making stabilized whipped cream frosting, you’re not alone! Here are some frequently asked questions.
How can I make my Stabilized Whipped Cream Frosting sweeter?
You can easily adjust the sweetness by adding more icing sugar during preparation. Start with a tablespoon at a time until you reach your desired taste.
Can I use this frosting for decorating cakes?
Absolutely! Stabilized whipped cream frosting holds its shape well, making it perfect for cake decoration and piping designs.
How long does Stabilized Whipped Cream Frosting last?
When stored properly in the fridge, this frosting lasts about 3-5 days. In the freezer, it can last up to one month.
What flavorings work best with Stabilized Whipped Cream Frosting?
You can use vanilla extract, almond extract, or even citrus zest. Feel free to experiment with different flavors for unique frostings!
Final Thoughts
Stabilized whipped cream frosting is both versatile and easy to make. Perfect for decorating cakes or topping desserts, it offers delightful customization options with various flavors and colors. Try making this recipe today and enjoy its light yet sturdy texture!
Stabilized Whipped Cream Frosting
Stabilized Whipped Cream Frosting is the ultimate topping for your cakes, cupcakes, and desserts. Its creamy texture and remarkable ability to hold its shape make it indispensable for any baking enthusiast. This delightful frosting is free from gelatin, making it a vegetarian-friendly option that everyone can enjoy. Whether you’re celebrating a special occasion or simply want to elevate your dessert game, this frosting will add a rich, fluffy layer to your treats that looks as good as it tastes. Customize it with your favorite flavors and colors to match any theme or preference!
- Prep Time: 10 minutes
- Cook Time: 0 minutes
- Total Time: 10 minutes
- Yield: Approximately 2 cups (8 servings) 1x
- Category: Dessert
- Method: Baking
- Cuisine: American
Ingredients
- 1/2 cup (110g) softened cream cheese
- 1 and 1/3 cups (350ml) heavy whipping cream
- 90g icing sugar
- Flavoring and coloring of your choice
Instructions
- Whip the softened cream cheese until smooth.
- Gradually add the heavy whipping cream while continuing to whip until combined.
- Sprinkle in the icing sugar and whip until blended.
- Add desired flavoring and coloring, then continue whipping until stiff peaks form.
- Use immediately or store as needed.
Nutrition
- Serving Size: 1/4 cup (60g)
- Calories: 180
- Sugar: 12g
- Sodium: 40mg
- Fat: 16g
- Saturated Fat: 10g
- Unsaturated Fat: 6g
- Trans Fat: 0g
- Carbohydrates: 13g
- Fiber: 0g
- Protein: 2g
- Cholesterol: 45mg